
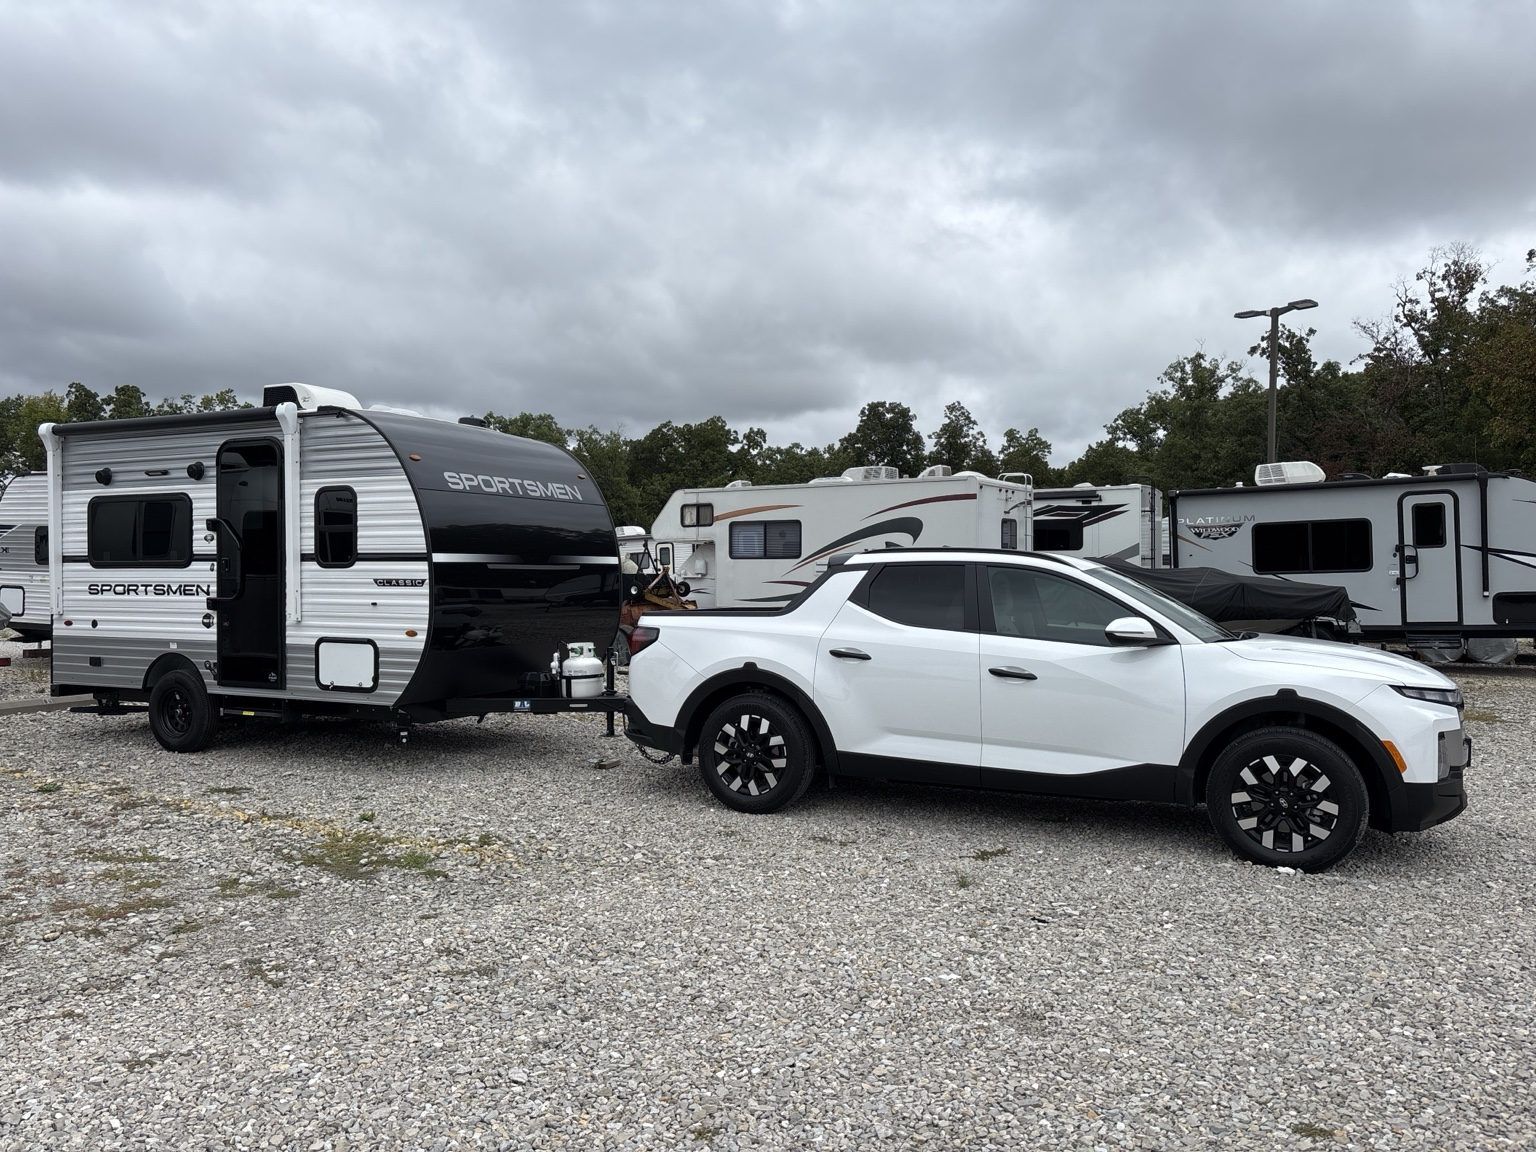
A comfortable fall camping trip can end with a very different forecast at home. Before you park your trailer and put away the gear, use an RV winter prep checklist to plan for freezing temperatures, storage moisture, and the maintenance jobs that are easy to overlook.
Winter preparation covers more than adding antifreeze. It means knowing which systems need protection, preparing your battery, checking for leaks, and giving yourself a reason to visit the RV throughout the season.
These seven areas will help you organize the work whether you own a small travel trailer, fifth wheel, or motorhome. Use this guide alongside the winterization instructions for your specific RV and installed equipment.
Want a copy to take to your RV? Join the Out West Club and get the free printable RV Winter Prep Checklist.
1. Decide whether you’re storing the RV or still camping
Start with your plans, not a jug of antifreeze. An RV parked until spring needs a storage routine. An RV you are using during freezing weather needs an active plan for protecting its plumbing and keeping essential systems working.
If your camping season is over, schedule winterization before freezing weather arrives. Gather your owner’s manual, appliance instructions, and the supplies your procedure calls for. If you use a service shop, book early enough that a forecast change does not leave you scrambling.
If you are still camping, check the overnight lows at the campground, along your route, and where the RV sits between trips. Know whether your tanks and water lines are exposed, enclosed, or heated. A warm living area does not automatically tell you the temperature of a hose or valve outside.
Write down what you will do if the forecast worsens. That might mean changing the trip, using a properly winterized RV without its water system, or following an approved cold-weather operating procedure.
2. Protect the fresh-water system and water heater
Plumbing deserves close attention because water can remain in components after the main tank is drained. Your winterization procedure should account for the pump, water lines, faucets, toilet, showers, and any water-connected appliances.
Locate the fresh-water drain, low-point drains, water heater controls, and any winterization valves before you begin. Do not assume another owner’s valve arrangement matches yours.
As part of the procedure specified for your RV:
- Drain the fresh-water system and applicable low-point drains.
- Prepare the water heater using its own manufacturer instructions.
- Complete the approved antifreeze, compressed-air, or combined procedure.
- Check filters, outside showers, toilet sprayers, and installed water appliances.
- Disconnect, drain, and store hoses, regulators, and other water accessories.
Use antifreeze intended for RV plumbing when your procedure requires it. Automotive engine coolant does not belong in the potable-water system. Follow the product label rather than guessing at dilution or quantity.
A conventional tank water heater and an on-demand heater may require different steps. KZ’s winterization guidance, for example, describes draining and bypassing the tank water heater before circulating antifreeze. Follow the instructions for the heater actually installed in your RV, including shutdown, cooling, and pressure-relief steps.
If a valve or appliance procedure is unclear, resolve it before continuing. This is a good place to ask your dealer for a walkthrough.
3. Prepare the black tank, gray tank, and drain plumbing
Fresh water is only part of the job. Before long-term storage, empty the black and gray tanks at an approved dump facility and clean them according to your RV’s instructions.
Work through the waste side deliberately: tanks, drain traps, dump valves, exposed piping, and any installed macerator or flush equipment. Follow the specified procedure for each component instead of assuming that empty tanks mean every valve and low spot is protected.
Store sewer hoses and fittings clean and separate from drinking-water equipment. Make a note of anything damaged or leaking so it can be repaired before your next trip.
For continued winter camping, verify what protects the tanks and valves while they are in use. An enclosed underbelly or a tank heater is useful only when you understand its operating requirements and which parts it actually protects.
Holding-tank deodorizer is not a substitute for the winterization procedure. Choose products for their intended purpose and follow the tank and product instructions.
4. Maintain the battery for its specific chemistry
A parked RV can still draw power. Before storage, identify the battery type and check both the battery maker’s storage instructions and the RV’s disconnect procedure.
Lead-acid, AGM, and lithium batteries should not all receive the same treatment. Trojan’s battery maintenance guidance explains that a discharged flooded lead-acid battery is more vulnerable to freezing. It recommends charging before storage and monitoring the battery during inactivity.
Lithium batteries have separate storage and charging temperature limits. Battle Born’s winter storage guidance describes cold-charge protection for its batteries. Your battery may use different limits or protections, so check its model-specific instructions.
Record the recommended storage charge level, whether the battery should remain connected, and how you will check it. If you use a maintenance charger, confirm compatibility with the battery chemistry and installation. Do not assume a solar panel or shore-power connection automatically provides the correct winter routine.
5. Inspect the roof, seals, tires, and exterior
Before storage, take a slow walk around the RV. Look for cracks, separation, damaged trim, and other changes around windows, doors, vents, lights, storage compartments, and roof penetrations.
Check the roof using the access method allowed by your manufacturer. Remove debris and address questionable sealant with materials compatible with the roof and existing seals. Photograph areas you want to compare at the next inspection.
Check tire condition and the specified cold inflation pressure, including the spare. Follow the RV and tire makers’ storage recommendations rather than choosing an arbitrary pressure.
If you use a cover, choose one designed for the RV’s size and shape. Install and secure it as directed, protect it from sharp edges, and check for loose straps or rubbing during the season. Covered parking still calls for inspections.
Keystone’s storage guide includes roof and seam checks, tire care, and a breathable, vented cover among its preparation recommendations.
6. Clean the interior and manage moisture and pests
Give the interior a clean start before closing it up. Remove food, drinks, perishables, and temperature-sensitive items. Clean crumbs out of cabinets and storage areas, and remove damp towels, bedding, and gear.
Prepare the refrigerator according to its storage instructions. If it includes an ice maker or water dispenser, check the separate winterization steps for those connections.
Look for damp surfaces, water stains, or musty smells before deciding how to manage humidity. A moisture absorber cannot repair a roof leak. Ventilation or a suitable dehumidifier may help depending on the RV, climate, and storage arrangement; follow the equipment instructions and check the setup periodically.
Inspect likely pest-entry points around wiring, plumbing, and compartments. Use appropriate prevention methods without blocking required ventilation, drains, or appliance openings.
Before leaving, make a final interior pass. Confirm that appliances and utilities are in their specified storage condition and write down any unfinished job.
7. Schedule inspections throughout the winter
Finishing the checklist is the start of storage, not the end of maintenance. Put your next inspection on the calendar before you leave the RV.
At each visit, check for water intrusion, pest activity, loose cover straps, tire problems, and battery issues. After severe weather, inspect again when conditions allow safe access.
Keep a simple record: date, what changed, and what needs attention. Photos help you notice whether a small sealant gap or stain is growing. If the RV is stored away from home, confirm how you can access it and whether the facility will notify you about storm damage.
When spring approaches, use your RV’s de-winterization procedure before returning the plumbing to service. Then make the 25-Point RV Departure Checklist part of your first-trip routine.
Common questions about preparing an RV for winter
When should I winterize my RV?
Plan around the forecast and your RV’s exposure, not a fixed calendar date. Complete the required protection before the unprotected water system faces freezing conditions. Allow time for supplies or a service appointment.
Will one freezing night damage RV plumbing?
There is no universal safe number of hours. Exposure, temperature, remaining water, and the RV’s construction affect the risk. Treat a freezing forecast as a reason to act, rather than assuming a brief cold snap is harmless.
Can I camp after winterizing my RV?
You may be able to camp without using the winterized plumbing, depending on your RV and campground facilities. If you return the water system to use, follow the required de-winterization steps and protect it again before the next freeze.
Is this a complete step-by-step winterization procedure?
This guide and printable checklist organize seven areas of preparation. They supplement the detailed instructions for your RV, water heater, battery, and other equipment. Those instructions determine the actual valves, settings, and sequence to use.
Get your FREE printable RV Winter Prep Checklist
Take the seven preparation areas with you to your RV. Our one-page PDF includes checkboxes, room for notes, and a place to record your next inspection.
Join the Out West Club below and we’ll email your checklist. You’ll also receive practical RV travel, connectivity, and preparedness updates. Unsubscribe anytime.
See our Privacy Policy.
Keep preparing for your next adventure with our RV emergency preparedness guide and small travel trailer campsite setup checklist.
RV Travel. Connectivity. Preparedness.
Keep building capability
Take the next trip with a better plan.
Join the Out West Club and get the free 25-Point RV Departure Checklist—plus occasional practical notes for travel, connectivity, preparedness, and gear.