
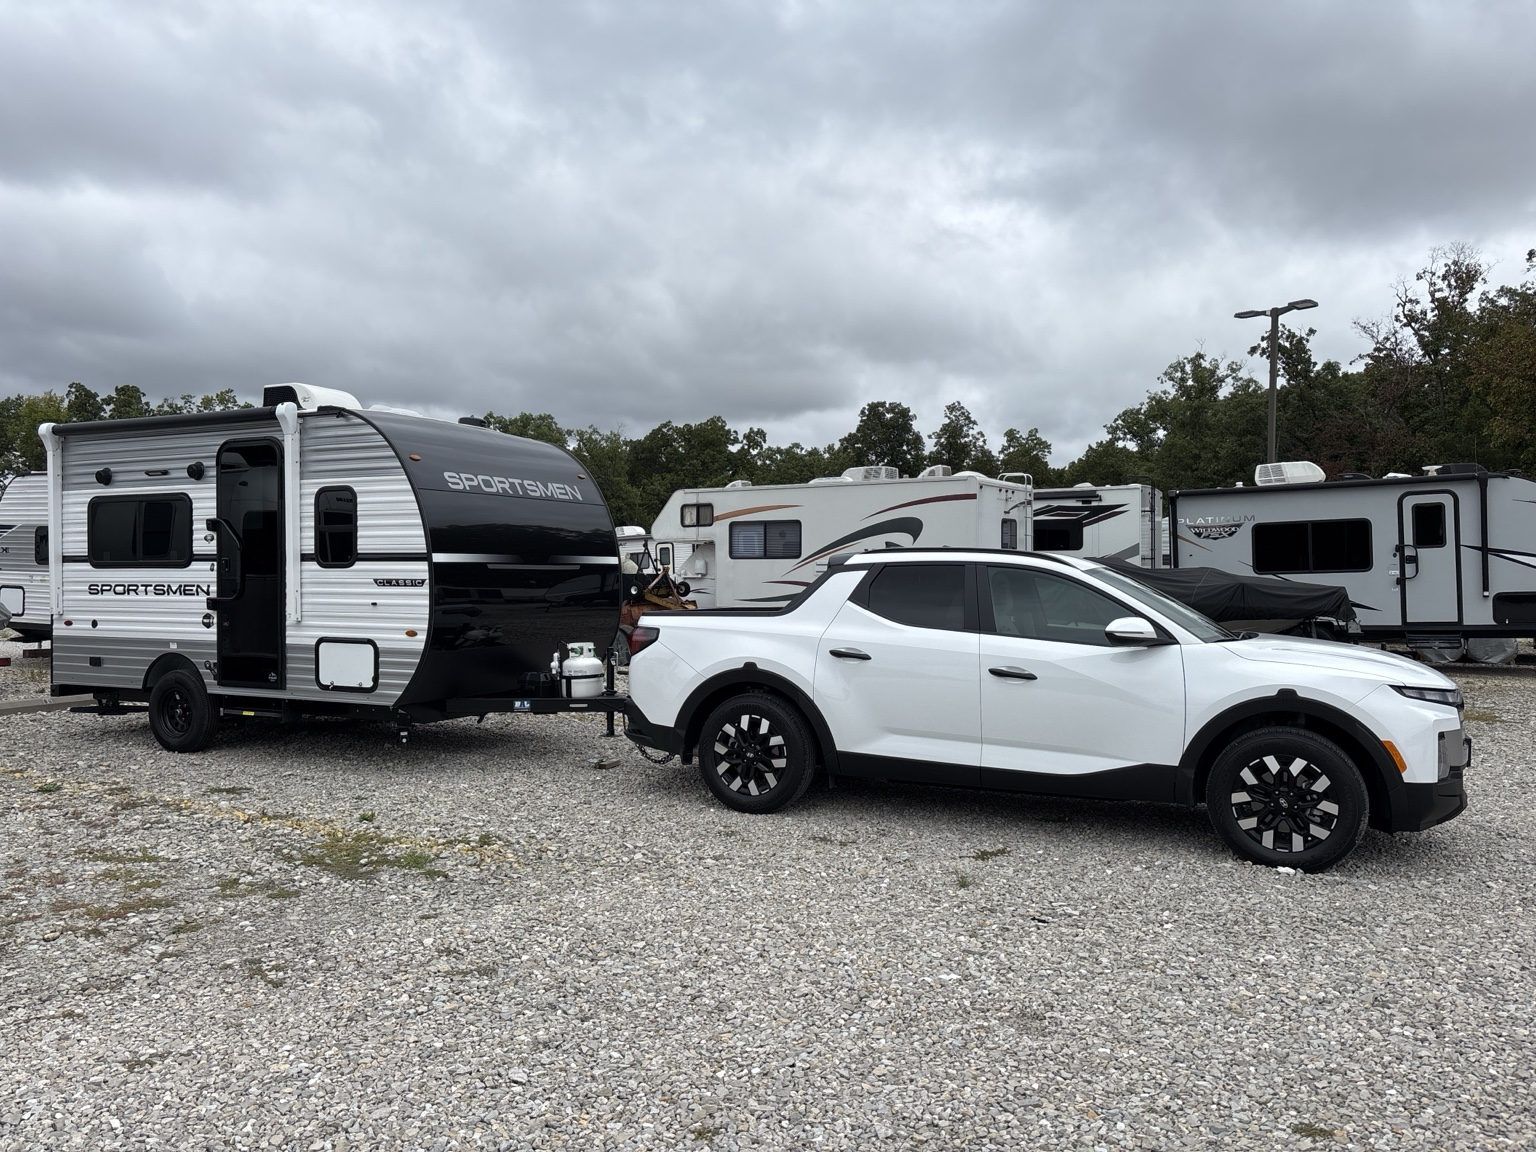
At Nashville KOA Resort, our KZ Sportsmen Classic did not become a campsite the moment we parked. We still had to secure the trailer, settle it on the gravel, and connect power and fresh water. Our trip photos document the chock, stabilizer, pedestal, and water hookup. This is a practical arrival sequence for a small travel trailer; follow your trailer manual and the directions for the site and equipment you actually have.
1. Position the trailer before unhitching
Walk the site first. Locate the electrical pedestal, water spigot, sewer connection if your reservation includes one, and a place for the tow vehicle. Look at the ground under the tires and stabilizers, door and step clearance, and the path your hoses and cord will take. Position the trailer so those connections can reach without being stretched or routed where someone will drive over them.
Check side-to-side level by the method appropriate for your trailer while you can still move it. The photo of our small trailer at Nashville KOA Resort gives context for this particular stay; it does not establish the size or layout of every campground site.
2. Chock, unhitch, and stabilize
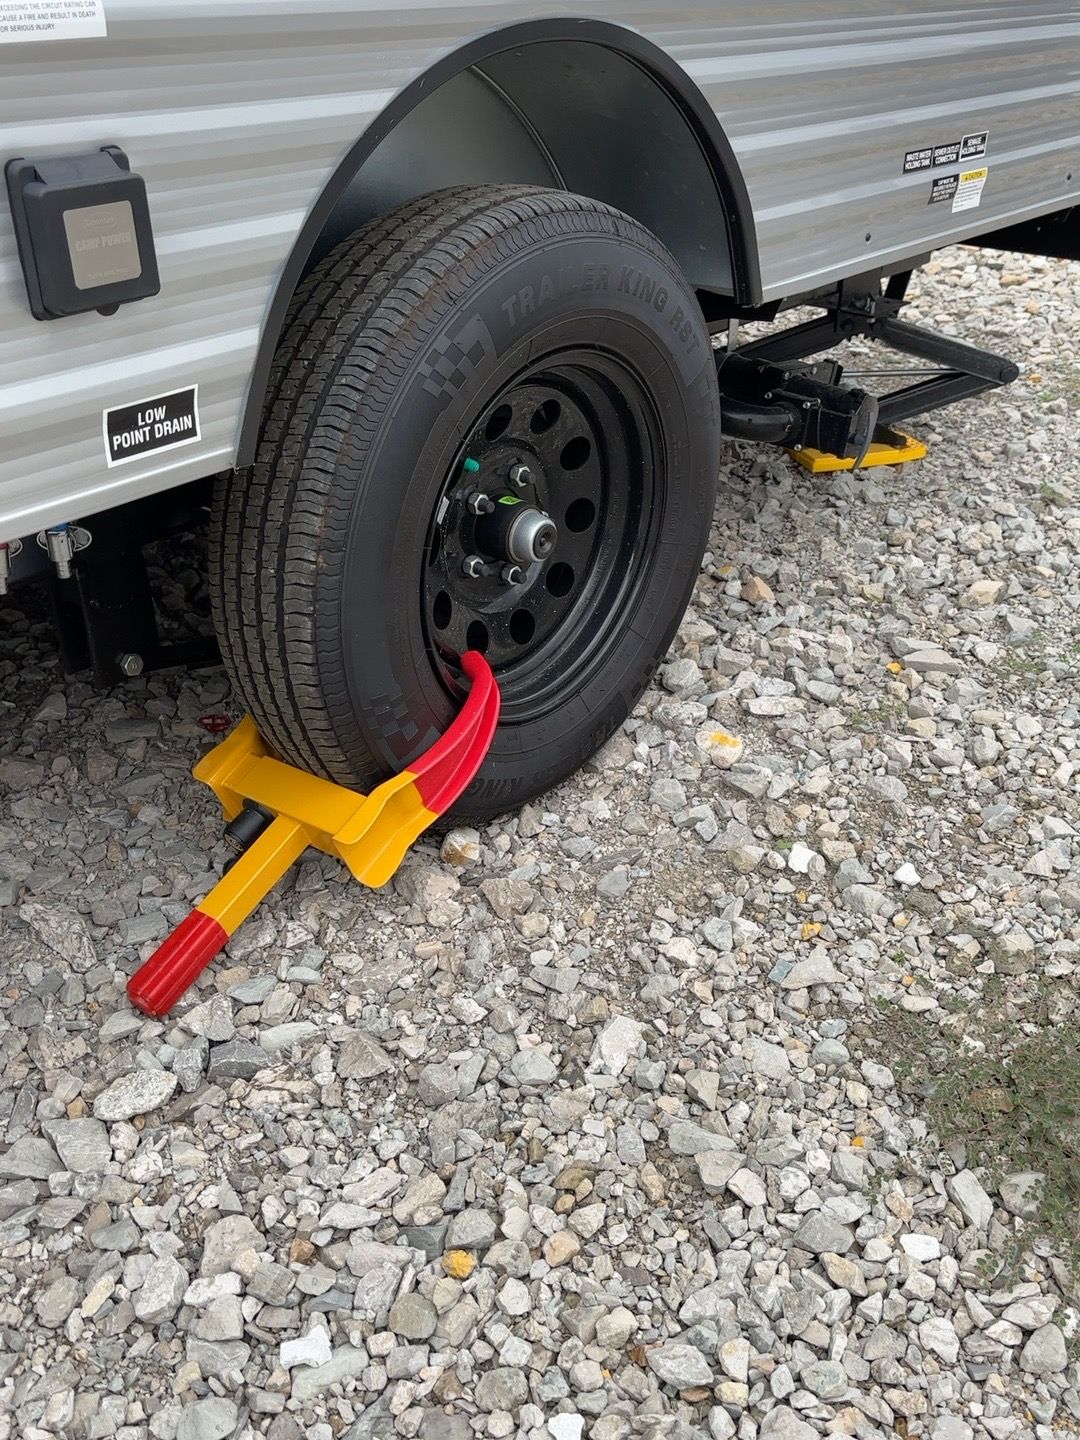
Set the tow vehicle brake and secure the trailer wheels before uncoupling. Our close-up shows the red and yellow chock against a trailer tire on the gravel. Make sure your chock is placed and tightened as its manufacturer directs for your wheel and terrain.
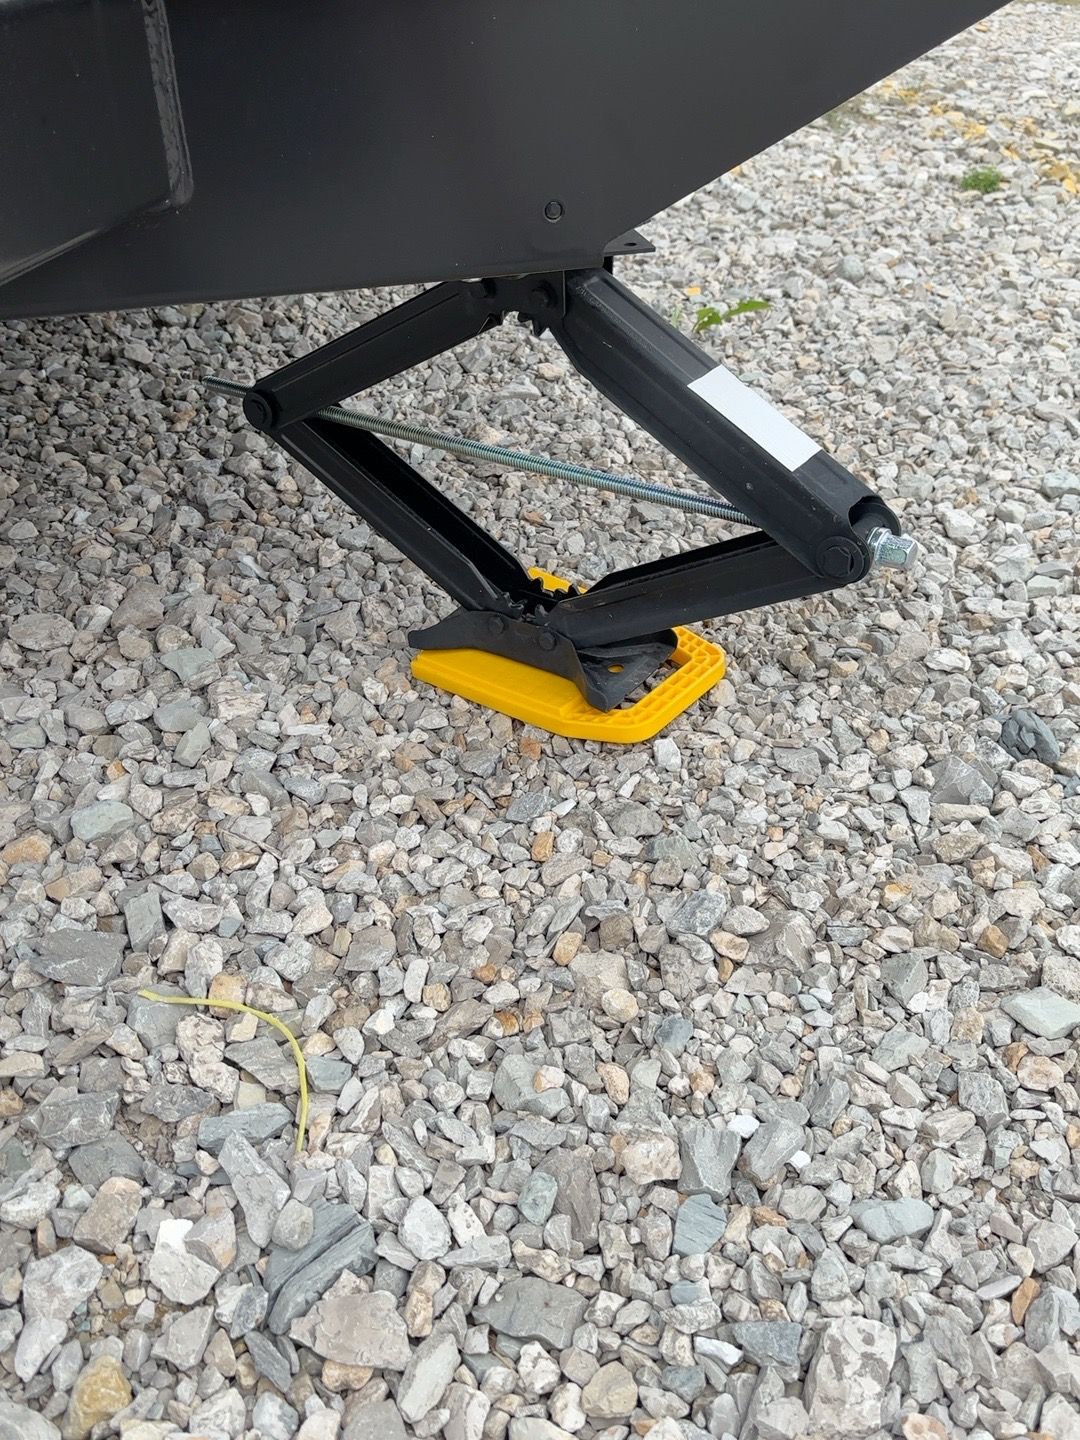
Once the trailer is secure, disconnect the hitch, adjust front-to-back level with the tongue jack, and lower stabilizers onto suitable pads according to the trailer maker’s instructions. The stabilizers help reduce movement in camp. They are not a substitute for wheel chocks or equipment designed to lift the trailer.
Keep the coupler, safety chains, and 7-way plug in mind for the return trip; our 25-Point RV Departure Checklist covers the transition back to travel.
3. Check the electrical hookup
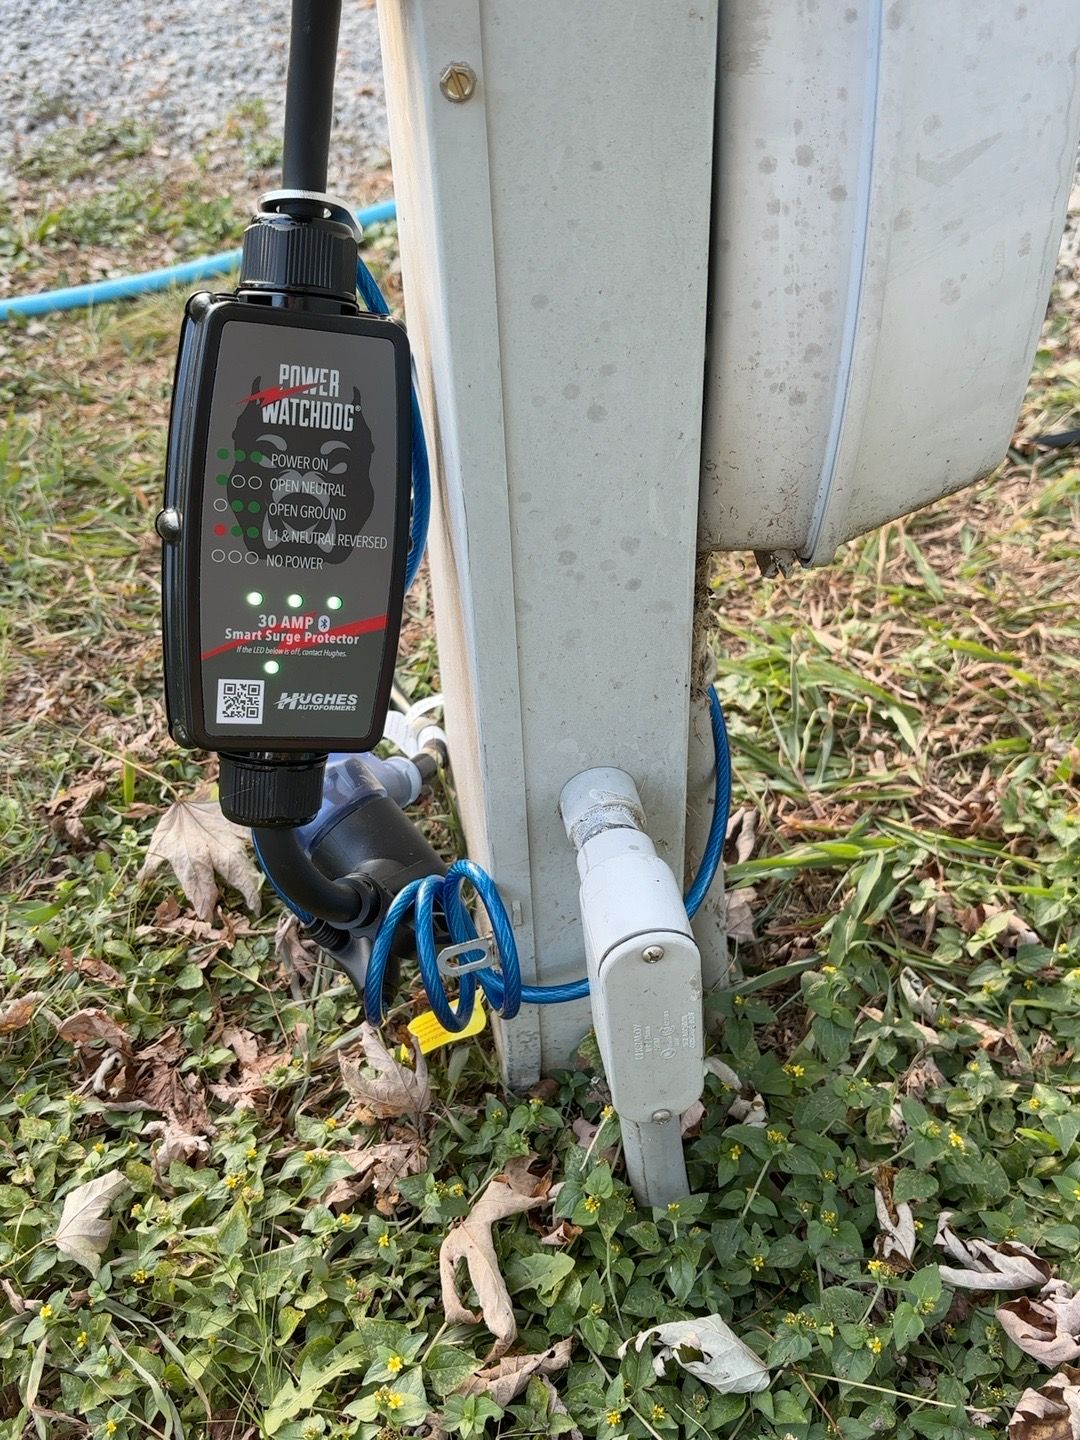
Confirm that the pedestal service matches the trailer before connecting. Our setup photo shows a 30-amp Power Watchdog at the campsite pedestal. We use it as a visible checkpoint in the hookup process, following the device instructions and posted pedestal directions. Do not force a damaged or incompatible plug, and bring the trailer’s electrical loads online within its and the site’s limits. At our R25 hookup, the voltage reading stayed above 120 volts even at the highest load we used. That is one stay’s observation, not a controlled power-quality test or a guarantee for another pedestal.
4. Connect fresh water without mixing equipment
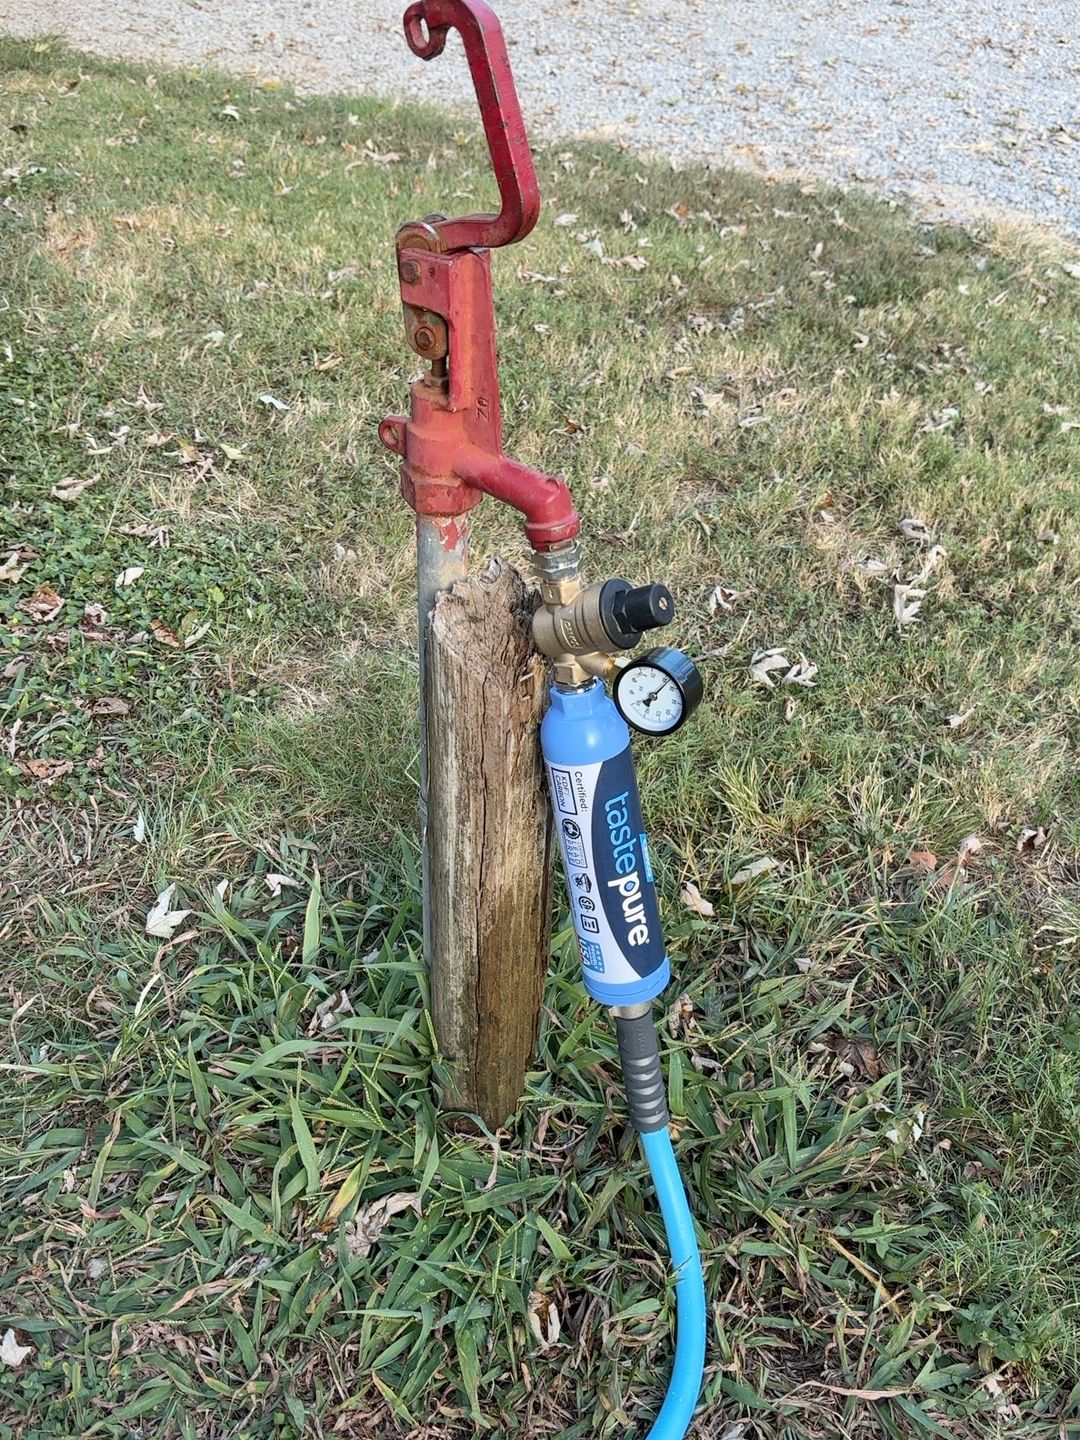
Our water photos show a blue hose, an inline Camco TastePURE filter, and a regulator with a gauge at the campground spigot. Use equipment intended for potable water and keep it separate from sewer or flush hoses. Check the connections for leaks and use a pressure regulator in line with your RV’s requirements. A photo of a gauge is not a reliable record of a measured pressure over the entire stay.
5. Plan the sewer connection and tank routine
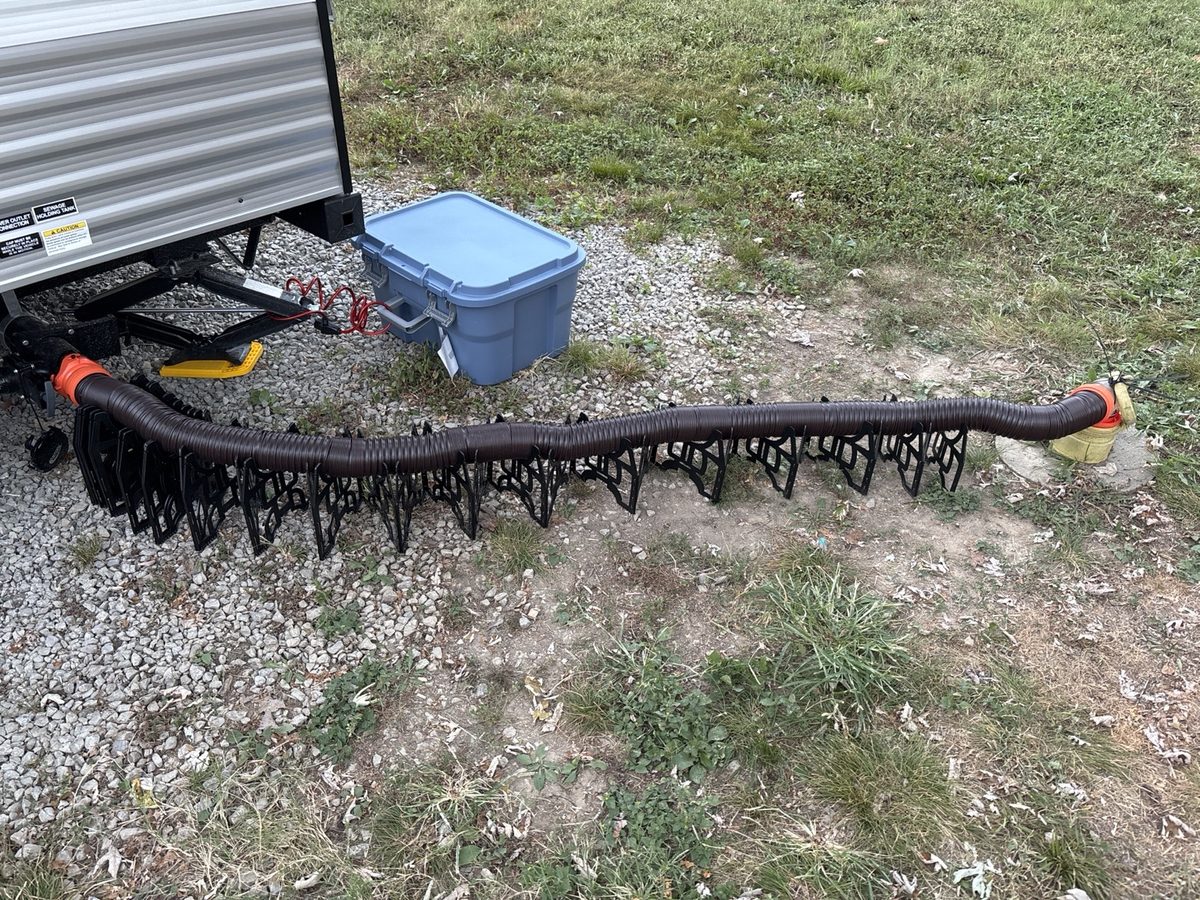
If the site includes sewer and you connect a hose, secure its route and protect it from foot and vehicle traffic. Follow your RV and campground guidance for valve management and dumping. Our trip notes record three gallons of water added to each of the black and gray tanks before the trip, along with Happy Campers treatment. That is a record of our preparation, not a universal dosing instruction or a performance claim; use the product label and your tank manufacturer’s guidance.
6. Walk the site once more
Before stepping away, check the chocks, stabilizers, steps, door clearance, hose and cord routing, and water fittings. A photo of the final connections helps when it is time to reverse the process. Our Nashville RV road-trip account covers the drive and arrival; the campground review covers the stay. See the trip gear account for why we carried each piece.
Keep building capability
Take the next trip with a better plan.
Join the Out West Club and get the free 25-Point RV Departure Checklist—plus occasional practical notes for travel, connectivity, preparedness, and gear.